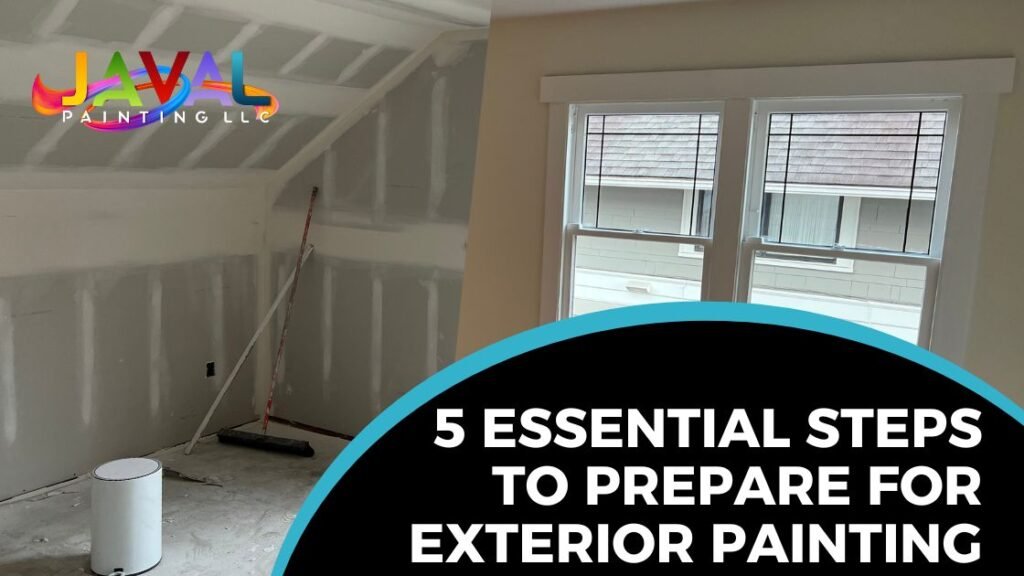
Interior House Painting
Interior painting seasson si here, whit this guide to interior house painting, you will delve into the 7 essential steps to prepare walls for a flawless finish. From surface cleaning and repair to priming and sanding, this article offers expert insights and practical tips to help both novice and experienced painters master the art of transforming their living spaces. Whether you’re looking to refresh a single room or tackle a whole house, this in-depth exploration provides the knowledge and guidance needed to achieve professional-quality results.
Introduction to Interior House Painting
When it comes to interior house painting, proper wall preparation is crucial for achieving a flawless and long-lasting finish. Whether you’re a DIY enthusiast or a professional painter, taking the time to prepare the walls correctly can make a significant difference in the final outcome of your paint job. In this comprehensive guide, we will explore the 7 essential steps to prepare walls for interior house painting, providing you with expert insights and practical tips to help you master the art of transforming your living spaces.
Step 1: Prepare your space
The first step in preparing walls for interior house painting is to remove furniture from the room and cover the floors with drop cloths or plastic sheeting to protect them from paint splatter and spills. Additionally, gather the necessary tools and materials for the upcoming painting project, including paintbrushes, rollers, painter’s tape, sandpaper, spackling paste, putty knife, and a sturdy ladder or adjustable ladder stabilizer.
Step 2: Clean your walls
Cleaning the walls before painting is essential to ensure proper adhesion of the new paint. Dust, dirt, and grease can prevent the paint from adhering to the surface, leading to an uneven finish. Use a mild detergent solution or a TSP (trisodium phosphate) cleaner to wash the walls thoroughly. TSP is particularly effective in removing grease and grime from kitchen walls. After cleaning, rinse the walls with clean water and allow them to dry completely before proceeding to the next step.
Step 3: Prepare your walls
Identifying and addressing cracks, holes, and dents in the walls is the next crucial step. Use a putty knife to apply spackling paste or patching compound to fill in any imperfections on the wall surface. Once the filler is dry, sand the patched areas smooth to create a seamless and even surface for painting. It’s important to choose the right fillers and patching compounds based on the type of wall material to ensure optimal results.
Step 4: Sanding
Sanding the walls is an essential step to create a smooth and uniform surface for the new paint. Use fine-grit sandpaper or a sanding sponge to gently sand the walls, focusing on areas with patched repairs and rough spots. This process helps to remove any remaining imperfections and roughen the surface slightly to improve paint adhesion. Be sure to wipe away the dust with a damp cloth after sanding to ensure a clean painting surface.
Step 5: Priming
Priming the walls before painting is a critical step that should not be overlooked. A high-quality primer not only helps the paint adhere better to the surface but also provides better coverage and durability. Select the appropriate primer based on the type of wall surface you are painting, whether it’s drywall, plaster, or previously painted walls. For example, acrylic mineral-based primers are suitable for most interior walls, while specific primers may be required for surfaces with stains or odors.
Conclusion
In conclusion, mastering the art of interior house painting begins with thorough wall preparation. By following the 7 essential steps outlined in this guide, you can ensure that your paint job will result in a professional-quality finish that enhances the beauty of your living space. We encourage you to apply the knowledge and techniques shared in this guide to achieve the best results in your next interior painting project.
By incorporating the 7 essential steps to prepare walls for interior house painting, you can ensure a flawless finish that enhances the beauty of your living space. For all your painting needs, consider using high-quality products such as Benjamin Moore Regal Paint in various paint colors. Additionally, for your convenience, you can find the necessary tools and materials on Amazon, including an adjustable ladder stabilizer and acrylic craft paint. As a participant in affiliate advertising programs, we may earn a commission from qualifying purchases through affiliate links.


0 Comments